Step 1: Learn to look at Light
The word “photograph” was coined in 1839 by Sir John Herschel and is based on the Greek 4§5 (phos), meaning
“light”, and ypauń (graphê), meaning “drawing, writing”, together meaning “drawing with light”.
That should be a gigantic hint as to how important it is to ANY photograph.
A lot of people, when trying to improve or, yes become great at photography, dive straight into their camera settings and technical features like aperture, shutter speed, and autofocus modes.
True: Settings have their place. Settings make a difference, and by mastering your settings, you can Quantium strides in your work.
But often diving into settings will confuse you – because the camera is just a tool that can record light. That’s all.
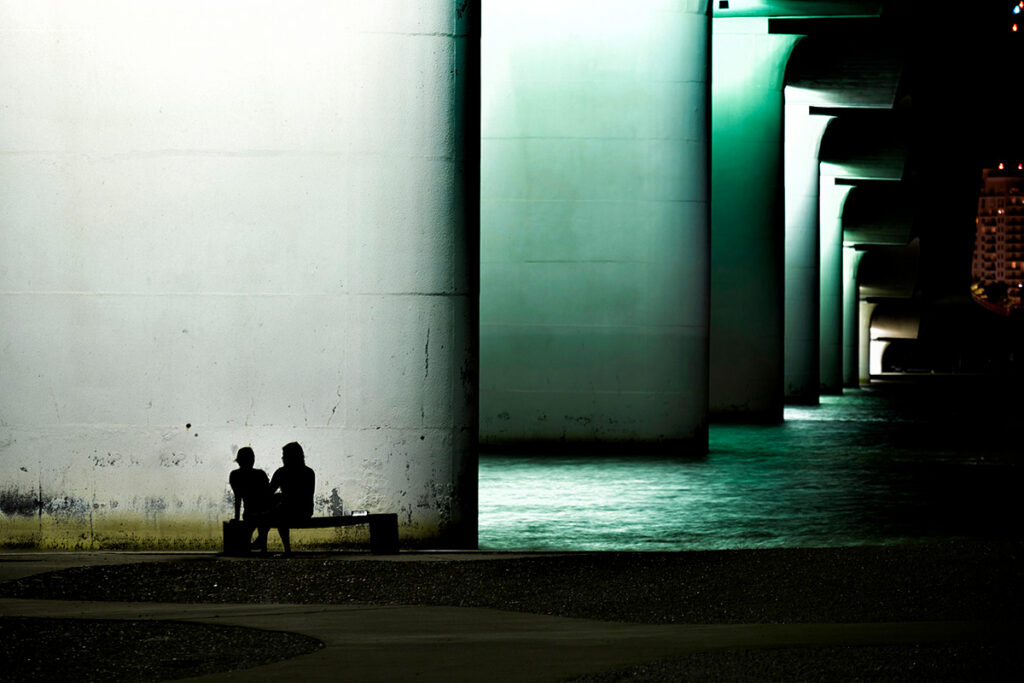
Instead, when you go to take photos, the first thing you should think about is light, not your camera. Light is everything. Get in the habit of asking yourself a series of questions before you actuate the shutter:
- What time of day is it?
- How strong is the light?
- What direction is the light coming from?
- Where are the artificial light sources and what colors do they give off?
Soon, you’ll constantly be aware of the light. You’ll know its quality and its direction. That’s a really good place to be in before you move on to your composition and then camera settings.
Step 2: Understand your camera’s basic settings
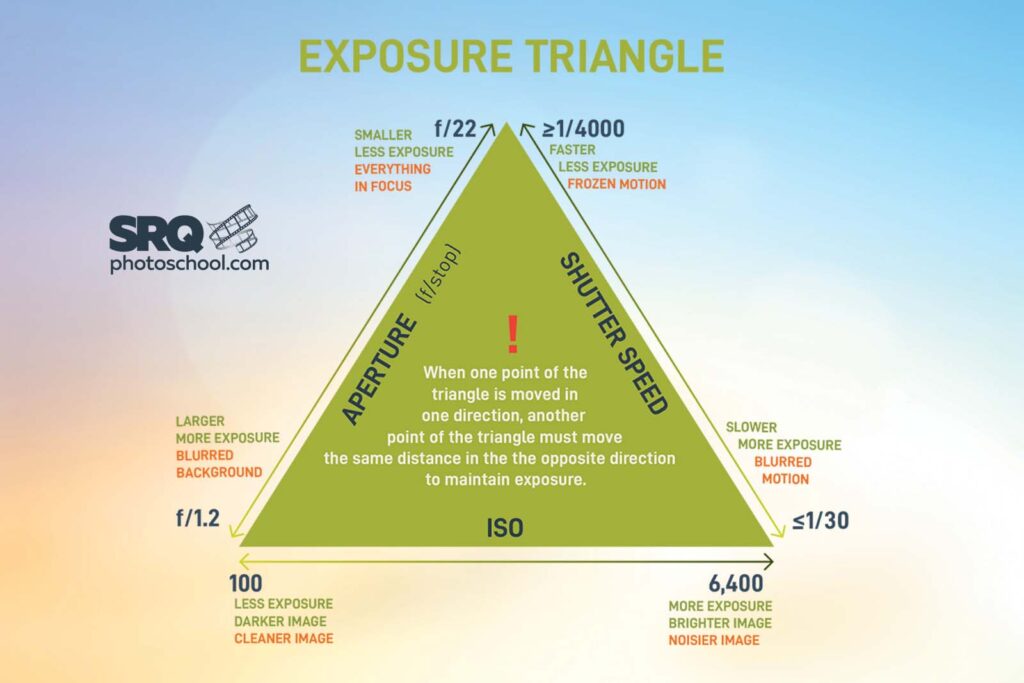
Every image exists at the confluence of a half-dozen (or more!) camera settings, including:
- Aperture
- Shutter speed
- ISO
- Shooting modes
- Autofocus modes
- Metering modes
Learn what each of these settings means, and learn how to adjust them on your camera. In the beginning, you don’t need to know everything about each setting, but you should understand how they’ll affect your photos and which settings work well as starting points.
That way, when you see an opportunity for a great photo, you’ll know how to adjust key features, such as sharpness, depth of field, brightness, and more. And you’ll get the shot you’re after.
It sounds like a lot of work just to take a single photo, and it is. However, if you start out shooting this way, it will eventually become second nature. It’s just like learning a basketball shot or a golf swing. Doing it the correct way might feel unnatural and weird at first, but eventually it will come naturally and quickly, and you will be better equipped to get great results.
Step 3: Learn Solid Composition

Most new photographers have a bad habit: they look up, see something interesting, photograph it quickly, and move on.
I see this every day in our group lessons. On the other hand, experienced photographers often examine an interesting scene for many long minutes, deciding what precisely to include in the frame. Only then – once they’ve determined the best composition – do they take a photo.
Step 4: Learn to use color
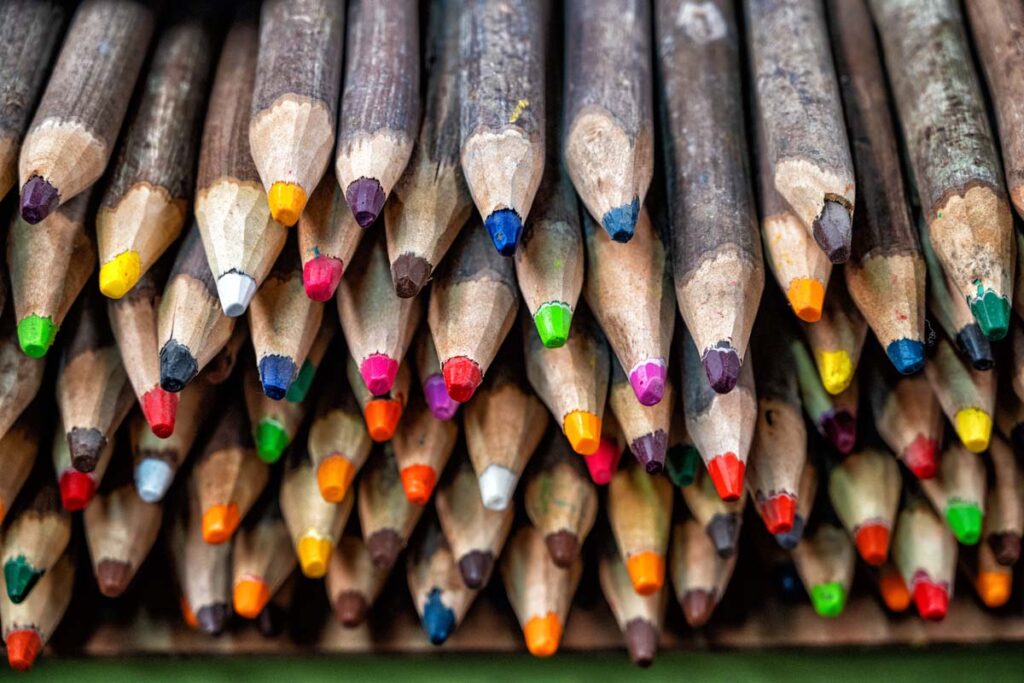
Color or a lack of color, is a very important element of photography. If you can learn to use it to your advantage, your photos will instantly be elevated. But how do you develop your color “sight”?
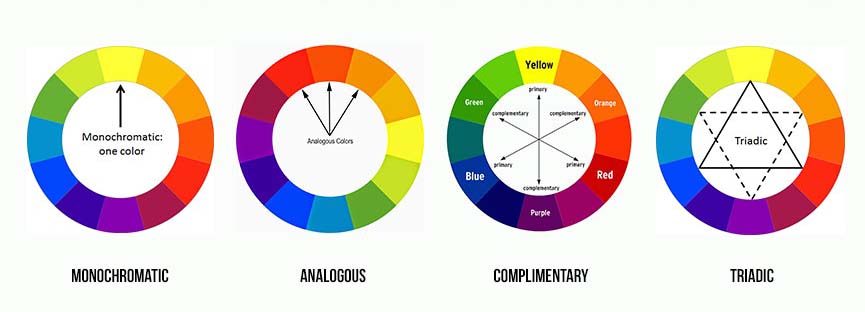
Start by looking at a color wheel. Study how the colors work together. Which colors look nice together? When you combine them, what effect do you get? Also, what do different colors represent? Which colors make the viewer feel calm, and which colors make them more agitated? (If you’re struggling with this, it can be helpful to read about color theory, which discusses different color combinations and how they work together to create different effects.)
Then, when you’re out and about, look around. Notice different colors as you pass them by. Think about how they work (or fail to work) together.
Also, try to see how the light changes colors. Light can be cool, it can be warm, and it can even be green. Learn to identify these color casts and learn to determine how they affect the scene.
Also, you can improve your ability to use color by editing. Play around with color temperature to see if you like warmer or cooler images. Desaturate your shots then add a little saturation to see how you feel. And adjust the contrast, then ask yourself how it affects the colors.
Step 5: Learn to edit
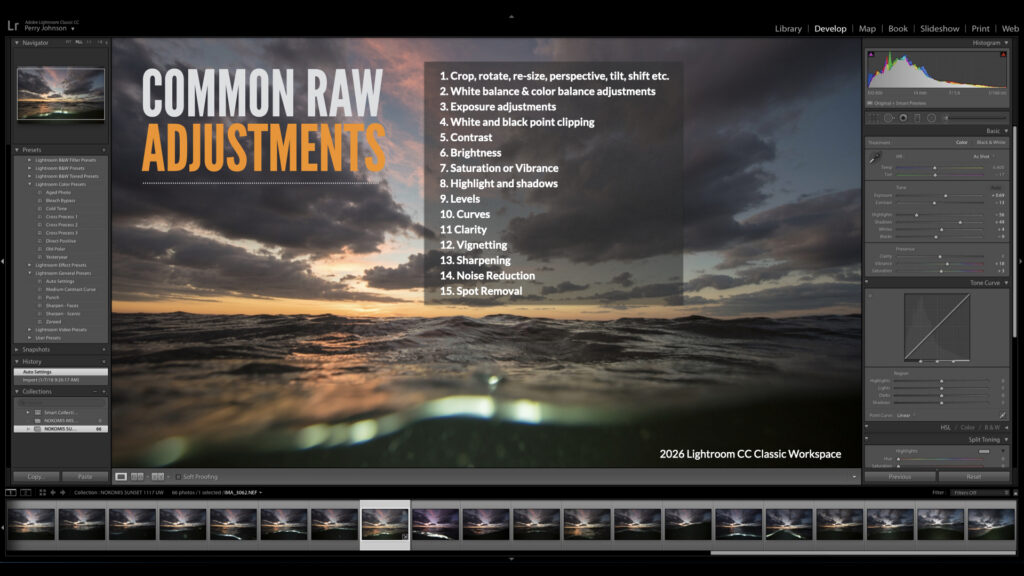
You may not want to hear this, but if you’re serious about becoming a good photographer, then you need to become a great editor along the way.
There is probably not a single image you admire by a known photographer that wasn’t edited in Adobe Lightroom Classic, Luminiar, Capture One or one of the many other classic raw photo editors.
Editing your photos will involve lots of experimentation, especially at first, so practice constantly and dont get upset if things don’t go your way. Simply do what you can to learn from your mistakes! For a fun challenge, try to recreate the look of your favorite photos to get a feel for how the editing was done.
Be diligent about organizing your archive. A little time spent each time you upload images will save you so much time in the future. Star your good images (Lightroom, as well as many other editing programs, allow you to tag images with one through five stars) so they are easy to find, and create collections/folders based on ideas that you develop over time. Viewing your work in an organized fashion will help you improve your skills much faster than if you have a messy archive and it will make it more enjoyable too.
###
Part 2 – How to Become a Great Photographer will follow shortly. Stay tuned.